I saw cute picture of a couple holding a Merry Christmas sign. I wanted it for my photo shoots. However, I couldn't find anything like that to buy. So I went to the craft store nearby and figured out how to make my own. It took me about 2 hours total to assemble the whole thing. The sign is cute and sturdy enough to use around children. I love it! Hope you do too!

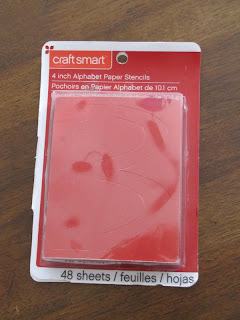
This is what I bought to use as a stencil for the letters. I was planning on cutting out the stecil from card stock. Once I saw it would be too flimsy, especially with little children, I changed my strategy.
I lined up the out side of the stencils to see how long I would need for my string. It was then that I decided to try to make the sign out of the inside of the stencils with cardstock behind it. This would give me a good solid base that wouldn't break easily.


I got some basic white card stock.

Mod Podge for the project.

Use the outside of the stencil as a template for the card stock base of the letters you are making.

Once you have traced around it, cut it out.

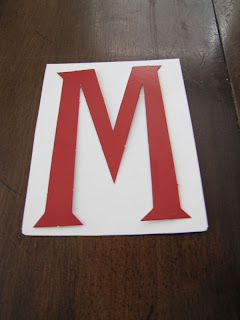
This is what it should look like when you are ready to assemble it.
Lay out all the letters you will be using and then cut out the matching card stock backing for each peice.

I realized that I only had 2 R's and I needed three. I used the P stencil to make a third R.

Here is the finished "make it yourself" R out of a P. I took the R and placed it on top of the P, then traced it. I cut out what the P was missing to make it into an R. Once finished, you can't tell that it wasn't like that to begin with.

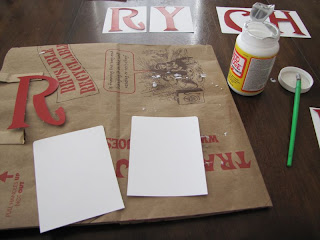
Gather all the peices: The letter, two peices of card stock-cut to the right size and both identical, a paintbrush, Mod Podge (This project used 1/2 of one small bottle), and something to protect your table.
Paint one side of the card stock with Mod Podge.

Place the second card directly on top and press together.

Two peices of card stock sealed together and ready for the letter to be placed on top.

Paint Mod Podge on the back of the letter you are using.

Place the letter where you want it on the cardstock.

Now cover the entire front of the cardstock and letter with an even coat of Mod Podge.


Here are a few of the letter cards that are drying.

Use the Mod Podge with a paintbush to cover all areas of the front with a second coat.

This is one of the letter cards that is dry on the front. Now turn it over.

Mod podge the back of the letter card so that the entire thing will be sealed.

Once each card has been sealed with the Mod Podge and is dry, assemble the letters. I ended up using a thin string that I braided together. I used nine strings total. I had little tiny clothes pins that I use to hang up our Christmas cards. I used these to hang the letters on the string. I keep them attached to the sting and fold it up carefully so it will be ready for each photo shoot.
The final product during a photo shoot. Love it!!